
Yesterday, Mandy and I got together for our annual Christmas card making session. We had fun, as always, but I think I selected a card with too many elements this year. I was at her house for four hours and only assembled one card! In all fairness, I did get all the elements prepped yesterday and was able to finish the assembly of 20 cards within about 20 minutes this morning. Next year I will definitely remember this and pick something simpler. Here's what it took to put these together:
- Cut out 20 card bases. This was a little trickier than normal since I started with 12"x12" paper. I was originally planning on making square cards, but I couldn't find envelopes the right size. Plus, square cards were going to cost me 65 cents each to mail (although these might too with the extra embellishments).
- Fold the card bases.
- Cut out eighty 1 3/4" white squares. Then run these squares through the paper embosser. I could do 6 squares at a time, so I did that 14 times.
- Cut out the red letters using the die cut machine. With 20 cards I had to run paper through the die cut machine 20 times.
- Using the snowflake punch, punch out 20 snowflakes.
- Using the scallop punch, punch out 20 red scallops... And this was actually about 4-5 punches per scallop because the punch isn't as long as my paper. So probably more like 80 punches.
- Cut out 80 brown 4"x4" squares of paper.
- Cut twenty 2" pieces of green ribbon.
- Using a needle, thread 20 buttons with red and white thread, and tie bows.
- Punch out twenty 1 1/2" green circles to put behind my o's.
- Adhere each letter to its appropriate background using a glue pen (my tape runner was too wide for the letters).
- Adhere the matted o to the white embossed square.
- Attach the ribbon to the J paper with a brad.
- Attach the snowflake to the white embossed square with a brad.
- Attach the scallop to the brown square.
- Glue the brown square onto the green card base.
- Glue the white squares onto the brown square.
- Using a glue dot, glue the button onto the y square.
I love how the card turned out though. The one thing I might have changed in hindsight is the o. It kind of looks like a green olive. Maybe I should have swapped the colors? Or done something else to embellish to o? Anyway, for those of you lucky 20 people getting one of these cards (you probably know who you are!), I hope you enjoyed the preview!
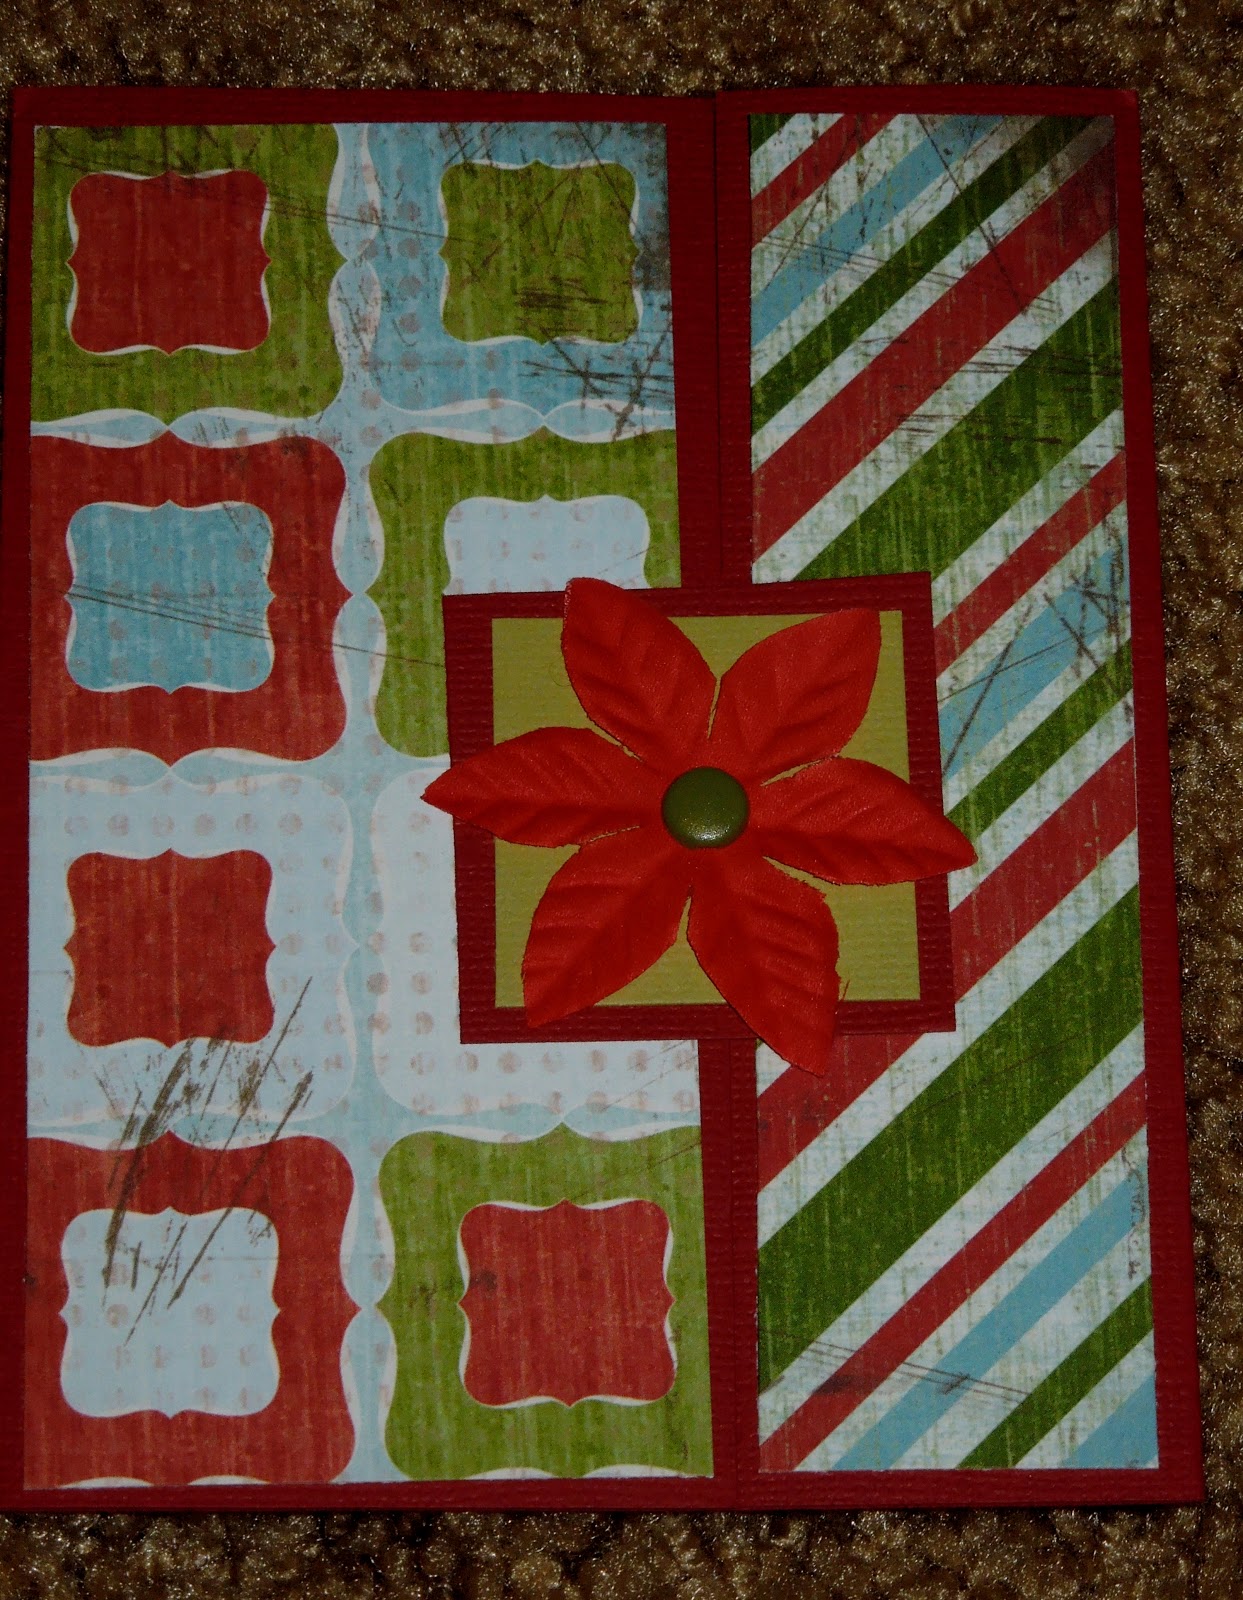
And just for fun, to close this post, I thought I would include a few more pictures of my cards over the years...


It is so fun to see all these cards on your blog. I have saved them all. You are awesome!
ReplyDeleteThat makes me feel good that you've kept them! I hope to get this year's cards out by next week, so watch your mail :-)
Delete